GitLab 설치 및 환경구성
설치환경
- RHEL 7.4
- 참고자료: How to Install Gitlab on CentOS/RHEL 5/6/7
의존관계 패키지 설치
# yum install postfix # yum install lokkit # systemctl start postfix # systemctl status postfix # lokkit -s http -s ssh # yum install curl openssh-server cronie- postfix 설치 시 "Internet Site" 선택, 다음 단계에 서버 ip나 도메인 입력
GitLab 설치
- GitLab 레파지토리 셋업
# su - ham
$ curl https://packages.gitlab.com/install/repositories/gitlab/gitlab-ce/script.rpm.sh | sudo bash
GitLab CE(Community Edition) 설치
$ sudo yum install gitlab-ce
서버 IP 확인 및 수정
$ sudo vi /etc/gitlab/gitlab.rb external_url 항목의 서버IP 확인 및 수정- reconfigure 실행
$ sudo gitlab-ctl reconfigure - 서비스 재시작 - root로 진행
$ gitlab-ctl stop
$ gitlab-ctl start
$ gitlab-ctl status
$ gitlab-ctl tail
- GitLab 레파지토리 셋업
방화벽 설정
- 방화벽포트오픈 - GitLab 참조
- 방화벽 재시작
$ sudo firewall-cmd --reload - 방화벽 확인
$ sudo iptables -L --line-numbers
초기설정
- 웹 인터페이스 접속
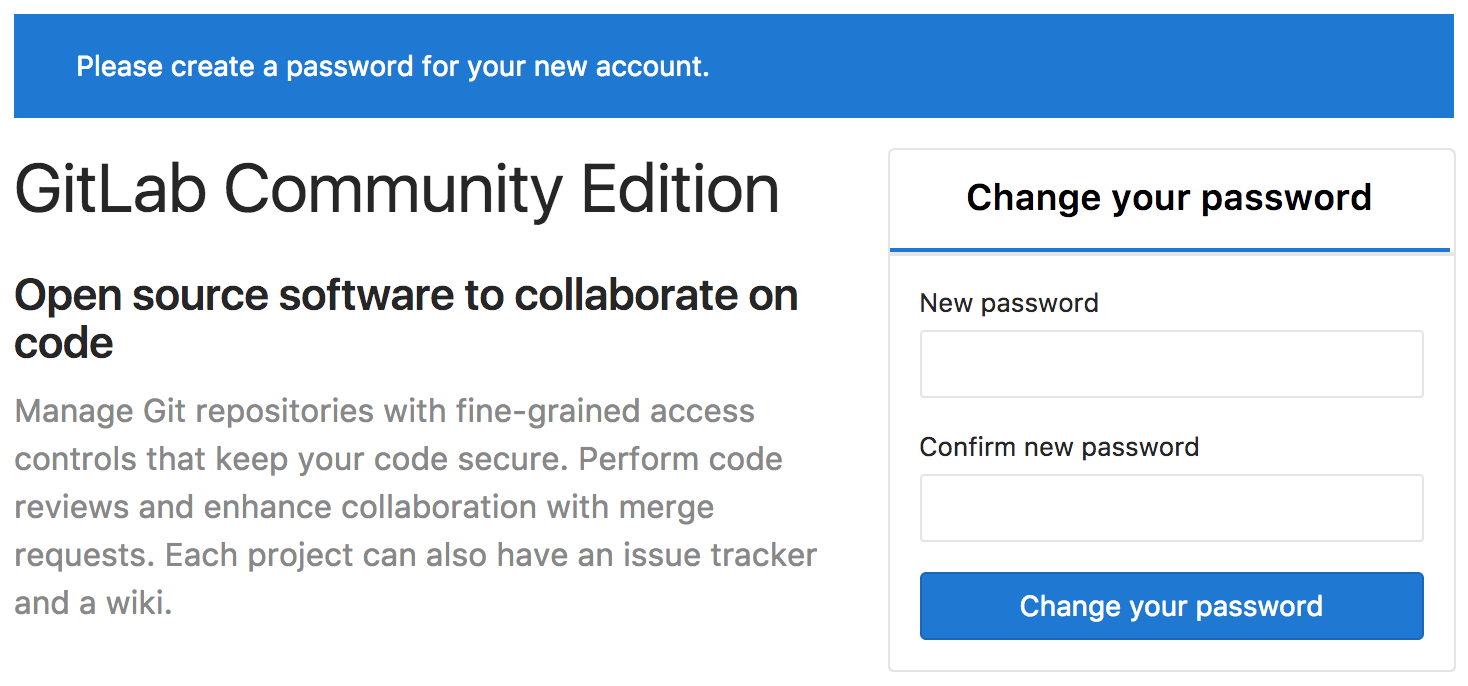
http://gitlab_domain_or_IP 관리자 비밀번호 설정
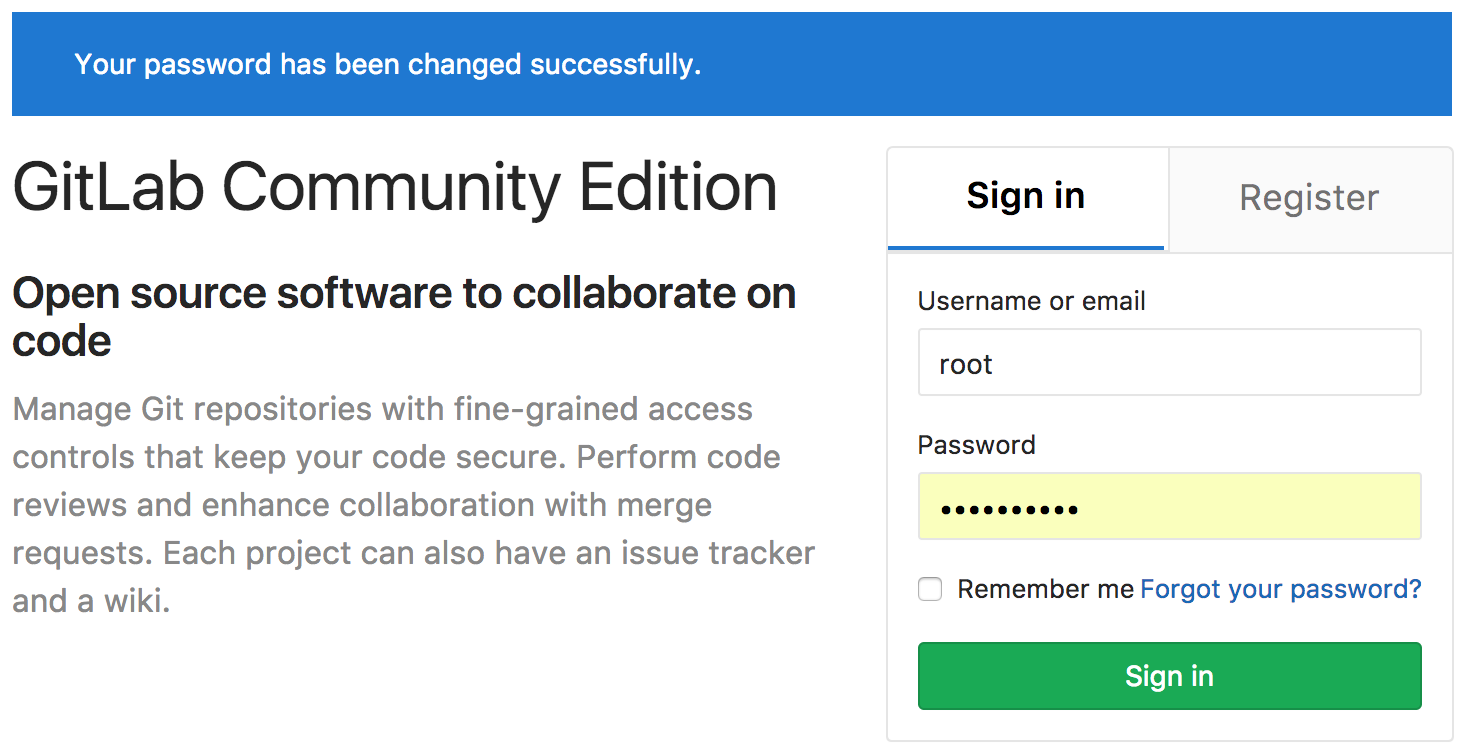
관리자 로그인 (root / 이전 설정한 비밀번호)
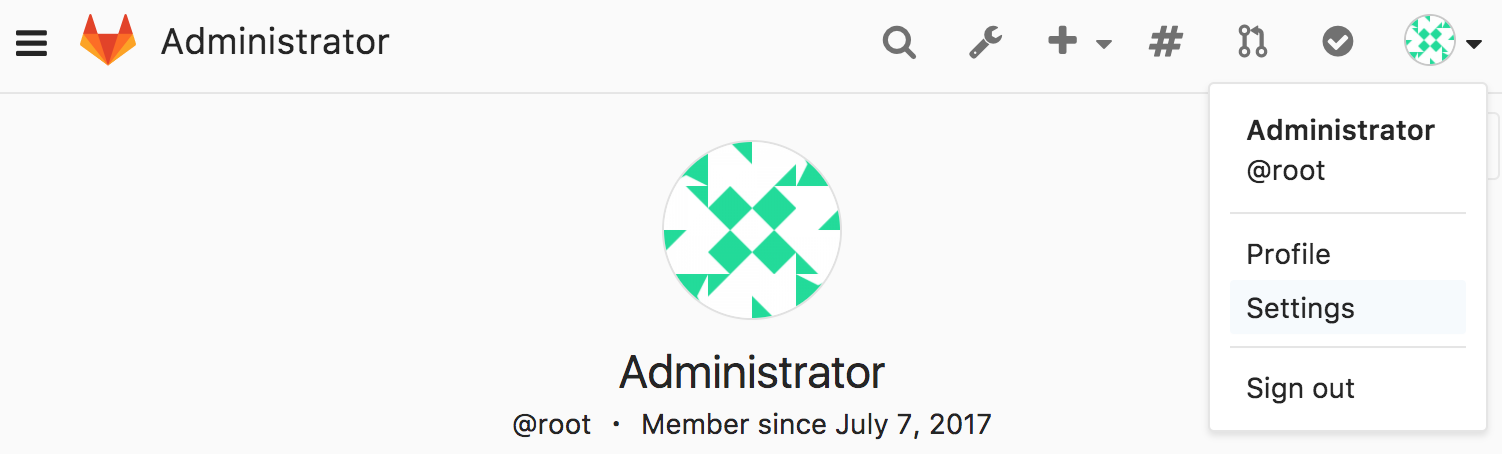
관리자 프로파일 수정 (Settings)
이메일 업데이트 후 confirmation mail 확인
- confirmation link 클릭 시 target url 이 localhost 로 나올 경우 서버 ip 재설정하기
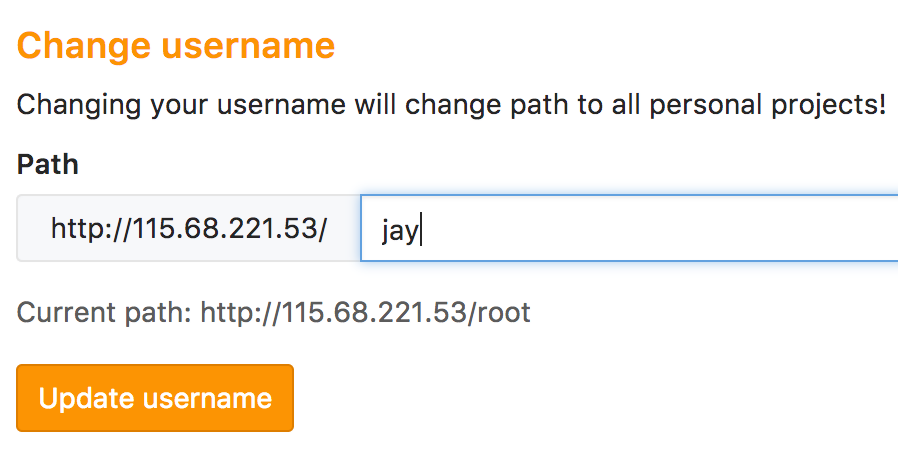
Account 이름 변경
- Profile Setting > Account -> username 변경
- Profile Setting > Account -> username 변경
- 웹 인터페이스 접속
프로젝트 이관
- 프로젝트 Import (GitLab.com -> GitLabCE)
- 프로젝트 Export/Import (GitLabCE -> GitLabCE)
- Export/Import 시 양쪽 GitLabCE의 버전이 맞아야 함
- GitLab 업그레이드
- GitLab Export/Import
root 비밀번호 초기화 방법